
materials: scraps of colorful fabric, light-colored fabric (i use unbleached cotton), interfacing, thread, and string (i use cotton twine).
sew together lots of bits or keep it simple with just one or two fabrics.
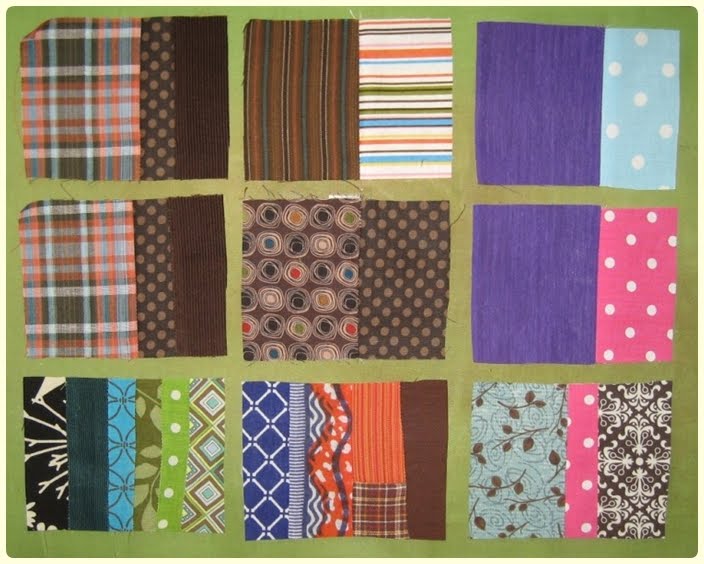
step 1. cut out a 3.5"x4.5" piece from your light-colored fabric (we'll call this the white piece from now on). cut out a 3"x4" piece of interfacing. sew together a collection of scraps and cut a 3.5"x4.5" piece from the assembled pieces (for an easier luggage tag, you can skip the assemblage and cut a 3.5"x4.5" piece from a single colorful fabric).

step 2. iron your interfacing onto the back of the assembled piece.

step 2. iron your interfacing onto the back of the assembled piece.

step 3. place the colorful piece with the white piece, right sides together.

step 5. trim the corners, to make it easier to the turn the tag right-side out.

step 6. turn the tag right-side out through the gap. use a bone creaser, chopstick, or some other pointy tool to push the corners all the way out. tuck the open edges in, pin, and press flat.

step 7. top-stitch around the edge of the tag (no more than 1/8" from the edge).

step 8. sew a tiny buttonhole on one end of the tag. open the buttonhole with your seam ripper or scissors.

step 9. cut a 13" piece of string. thread the string through the buttonhole and tie it off.

step 10. use a fine point permanent marker to write your contact information on the light side of your tag. enjoy traveling in style!!!


No comments:
Post a Comment