
i have been sewing up a storm this month, which means i have been all over pinterest looking for tutorials and patterns. of course, it is impossible to search for something on pinterest and avoid pinning completely unrelated projects. hence, i discovered the wonderful world of pattern weights. i have been grudgingly pinning my patterns to my fabric for as long as i have been sewing. sometimes i throw caution to the wind and cut without pinning, but this is ill-advised. suddenly, having a set of pattern weights seemed imperative. cue the pinterest search. there are a gazillion pictures of pattern weights, but 93% of them are washers or nuts wrapped in ribbon. totally not my cup of tea. then there are the pyramids. cute, but too bulky for my taste, which leaves us with the flat beanbags. yum. but maybe i am the only one who thinks so, because there is a dearth of inspiration in this department. there is a nice tutorial from positively splendid, but that is about it. i figure i should add my two cents.
materials:
- fabric - i recommend a thicker fabric. you could either use a heavier weight fabric such as canvas or you can interface a regular fabric. the amount of fabric depends on how many weights you intend on making. this is a good time to use up scraps - no reason all of your weights have to be identical.
- filling - you need something that is small, but heavy. i ruled out the traditional rice and beans, because i was not keen on putting food with my fabric stash. i planned to buy BBs, but they were more money than i wanted to spend. looking for a free solution, i pondered beach sand, but i was concerned that it would squeeze out of the seams and make a mess. luckily, the mister remembered the miniature gravel at his school's kayak launching ramp. perfecto!

directions:
step one. decide on a shape and size for your pattern weights. i made my weights triangular, because i think they will work better if i am trying to cut out smaller pieces and/or need to put a weight near a corner that is less than ninety degrees. not to mention, triangles are awesome. my triangle pattern.
step two. decide how many pattern weights you want and cut two triangles for each weight. most folks seem to make sets of six or eight. i made nineteen. yep, nineteen. i wanted a lot, because sometimes you need to lay out all of your pattern pieces simultaneously and six weights will not cut it.
step three. put two triangles right sides together. sew around with a 1/4" seam allowance leaving a 1" gap at the bottom. snip the threads and clip the seam allowance around the corners. turn the triangle right side out through the little gap.

step four. use a boning tool or chopstick to push out the corners. then repeat step three for all of your triangles.

step five. realize that the process of snipping threads and clipping corners is going to make a mess, so pause pattern weight production to create a cute thread catcher. feel free to use your prototype or unfinished pattern weights to hold down the pattern for the thread catcher. adorable fabric bucket tutorial.


step six. fill each of the triangles through the little gap at the bottom. leave some room to breathe in each of the triangles. i left about 1/4" empty along the bottom of each triangle. this leaves the weight malleable enough to pick up easily. pin the gap closed and add it to the stack of ready-to-be-finished weights.

step seven. the finish. all that is left is to close the gap at the bottom of your triangles. you can use your machine to top stitch along the bottom or even top stitch around the entire triangle. i top stitched the bottom of my prototype, but i did not like the appearance. instead, i went against every fiber of my being and opted for hand-sewing the gap with a blind stitch. this was an unusual step for me, because anytime a pattern requires hand-stitching, i always (and i mean ALWAYS) ignore it and machine stitch. but these little gems just look so perfect when they are hand-sewed, it was totally worth the trouble (nope, i did not take the requisite picture of myself hand sewing. you will have to use your imagination). if you do not know how to do this type of hand-sewing, check out this tutorial. it is easy.
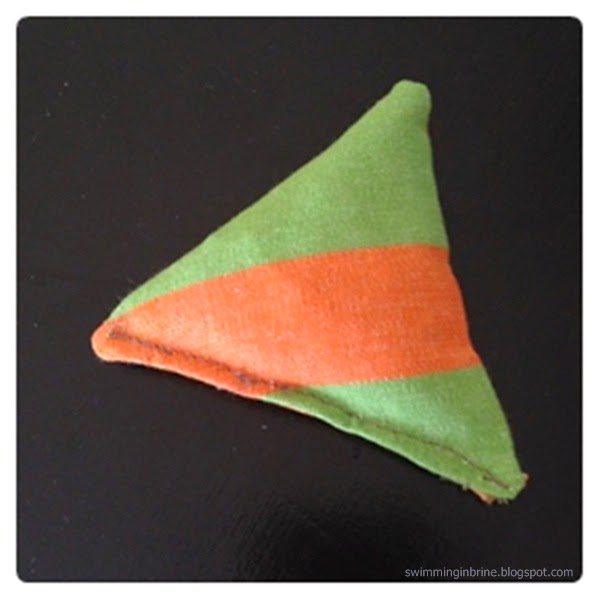 |
| top-stitched triangle. no, thank you. |
step eight. find or create some sort of receptacle to hold your new darlings. enjoy your pattern weights!

No comments:
Post a Comment